Feature released for all customers on support: May 22nd 2019
The purpose of this article is to guide you through how to use the Single Touch Payroll setup for Autosoft.
PLEASE NOTE: Our software will be using a third party to process the files. These are required to be uploaded into their portal at a very small cost. This company is called Ozedi. The cost example they gave Autosoft was that it would cost approximately $3 per payroll if you have 100 employees. This will be less, if you have less.
ALSO NOTE: To get this feature you must be on version 5.98.19.0522, or higher.
ALSO NOTE: This process MUST be run on your SERVER.
--------------------------------------------------------------------------------------------------------
BEFORE CONTINUING:
To allow this to work, we had to make some changes to the setup for deductions, entitlements and wage type.
You will need to do the following before you run this for the first time:
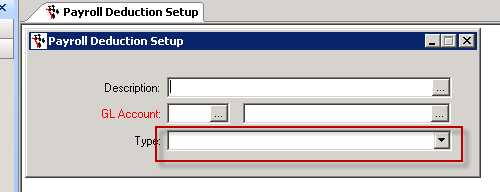
1. Add types to all of your deductions
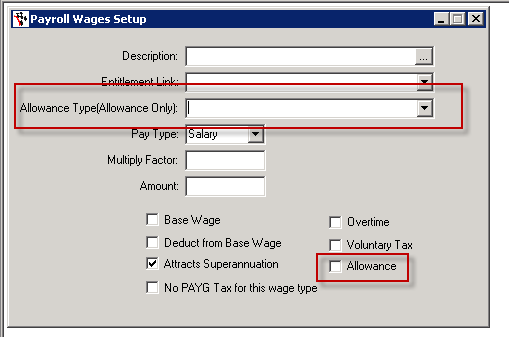
2. Tick "Allowance" for all of your allowances, and select an allowance type (allowances only)
--------------------------------------------------------------------------------------------------------------
Adding Single Touch
We've found some customers have issues with not being able to see Single Touch Payroll after the update. This is due to Security. You will need to do the following:
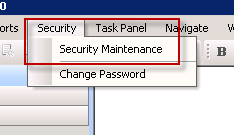
1. Go to Security - Security Maintenance
NOTE: This will need to be done by someone with access to this menu
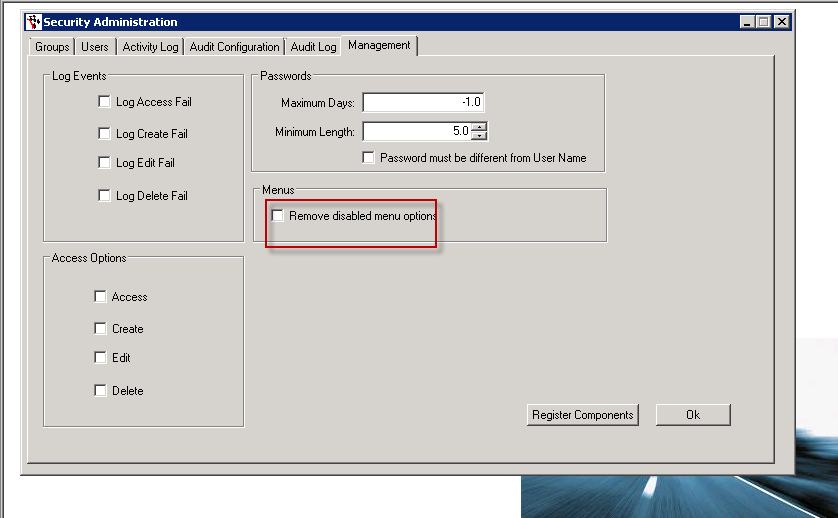
2. Go to the Management Tab
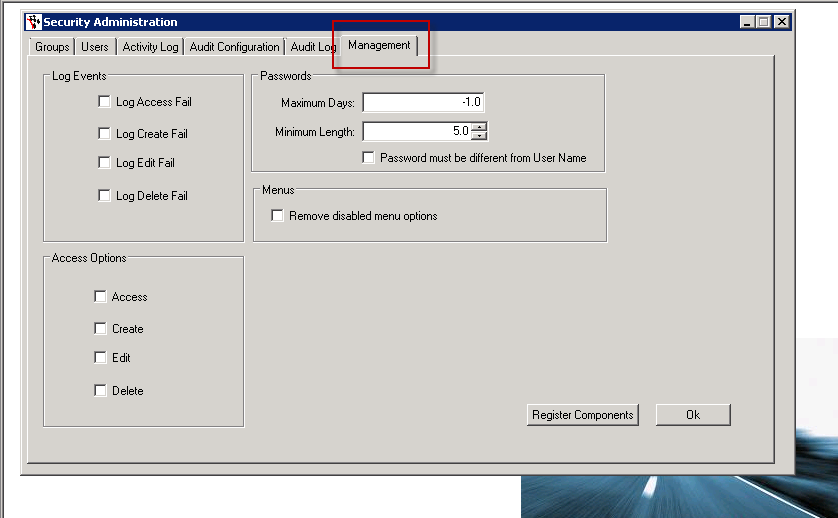
3. Untick "Remove disabled menu options"
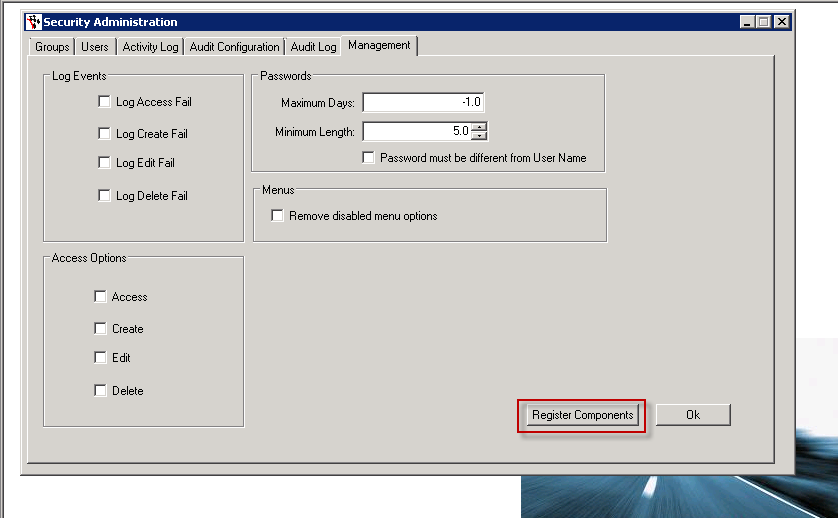
4. Click "Register Components"
5. Click "Ok"
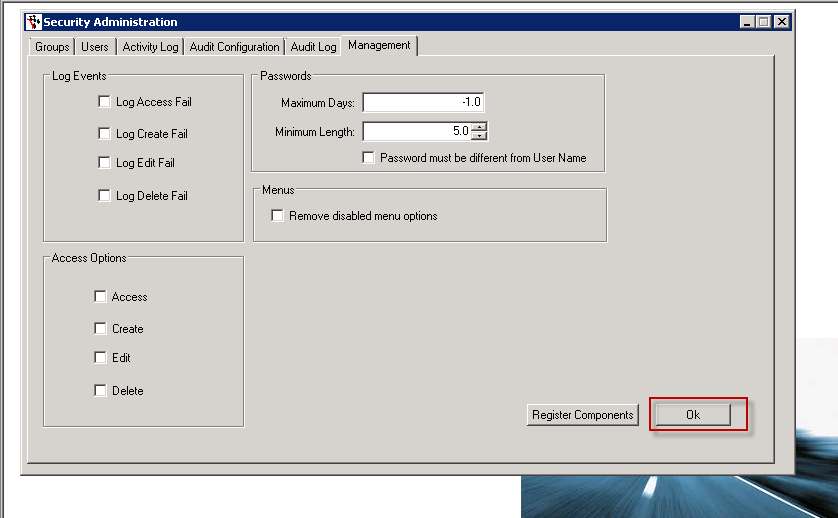
6. Reboot Payroll
7. After Payroll has been rebooted, go to Security - Security Maintenance
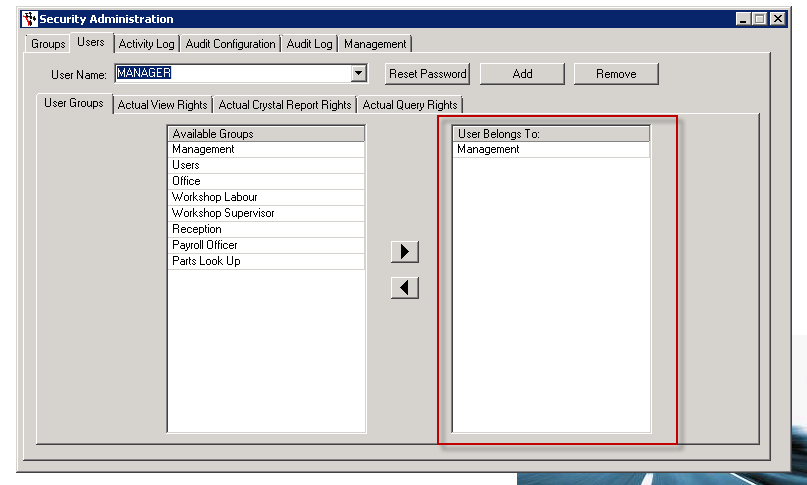
8. Go to Users
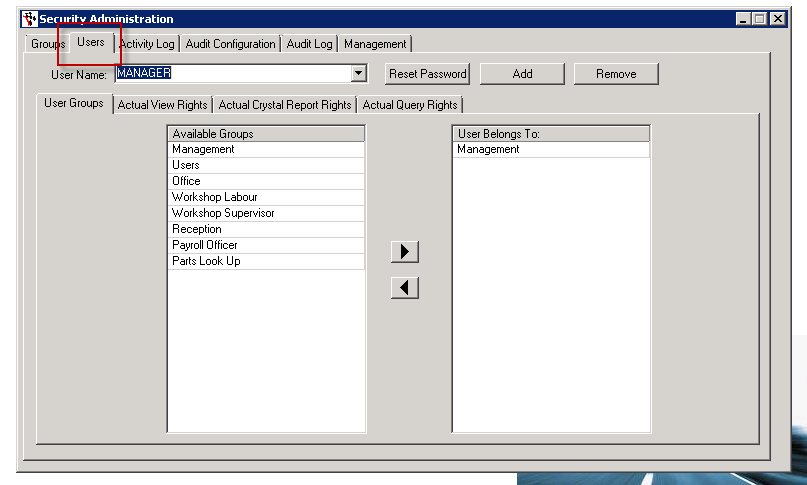
9. Find the user you are logged in as
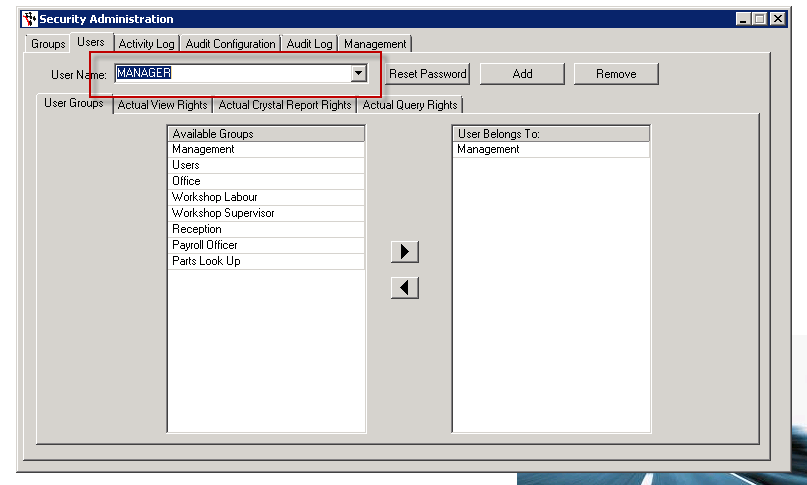
10. Take note of the group on the RIGHT
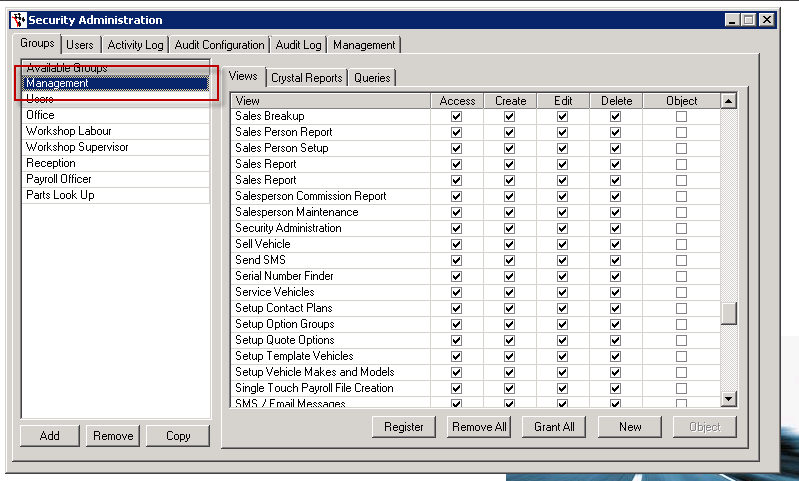
11. Go to the GROUPS tab
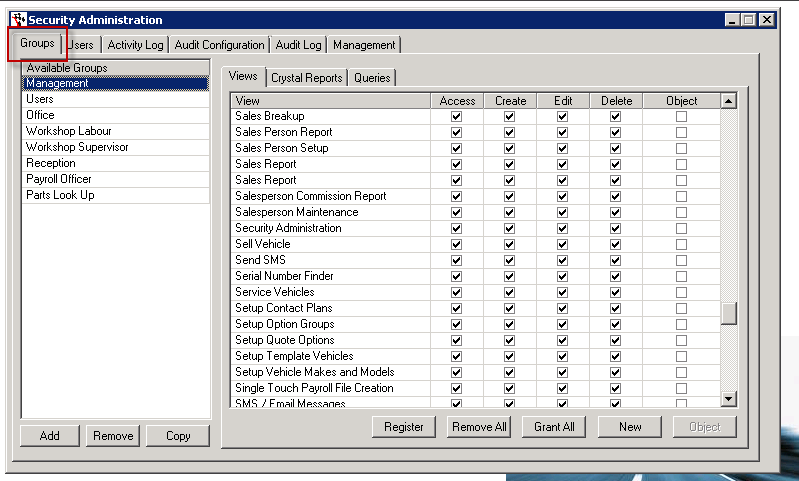
12. Click on the group from STEP 10
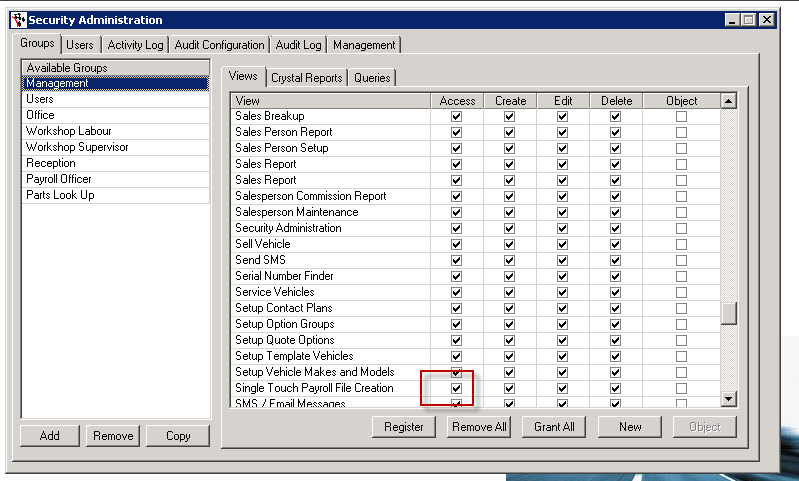
13. Find "Single Touch Payroll File Creation"
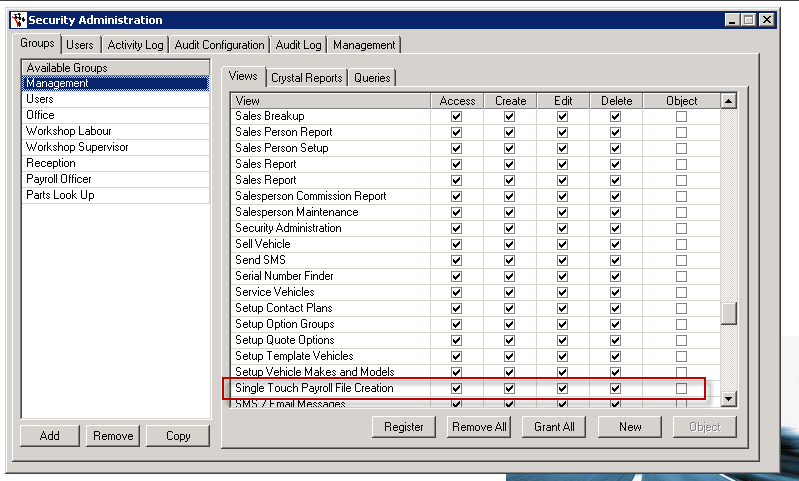
14. Tick "Access" . This should tick all the boxes EXCEPT for OBJECT. Object must remain unticked
15. Close the view
16. Reboot Payroll
You should now be able to access the Single Touch Payroll
If you don't have a list of invoices show up:
1. Go to Security - Security Maintenance
2. Go to Groups
3. Select the same group as step 12 above
4. Go to Queries
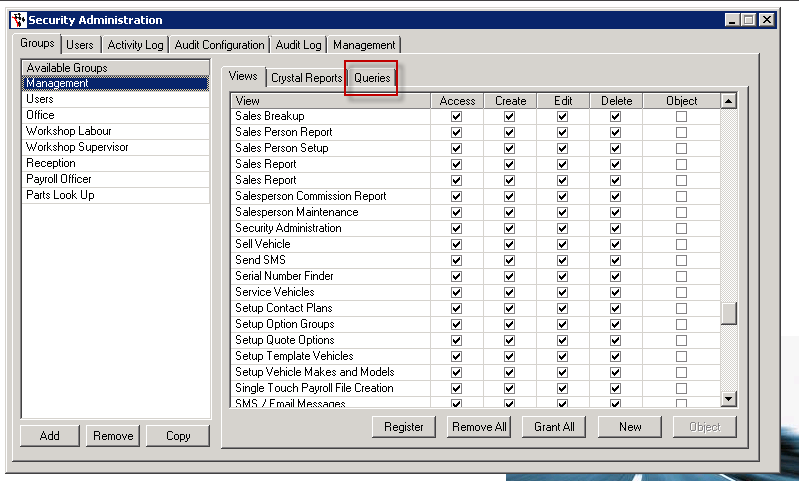
5. Tick the box under "Access" for "Payroll Lookup (Single Touch Payroll)", and "Payroll Lookup(Single Touch Payroll)"

6. Reboot Payroll
--------------------------------------------------------------------------------------------------------------
Before Continuing:
- Go to Autosoft5\Ozedi\Concatenation\Output and save the bulk file from a previous payroll into a separate folder on your server, for recording purposes
- Clear ALL records from the following folders:
- Autosoft5\Ozedi\Concatenation\Input
- Autosoft5\Ozedi\Concatenation\Output
- Autosoft5\Ozedi\Transform\Output
- Autosoft5\Ozedi\Transform\Input
Note: you will have issues if these files have not been cleared. A future update will clear these files automatically.
Using Single Touch Payroll
1. Log into your payroll
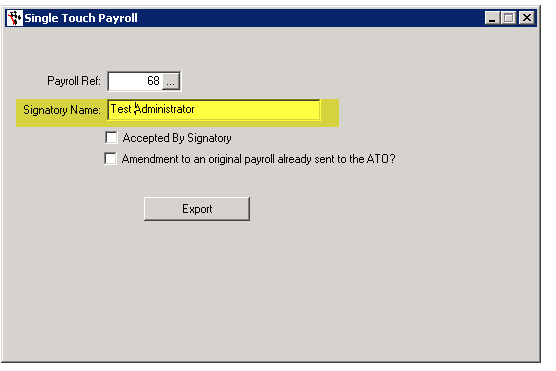
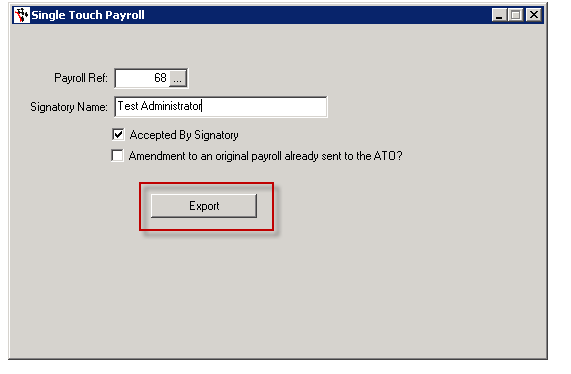
2. Go to Payroll - Single Touch Payroll File Creation
3. Select the payroll that you would like to run
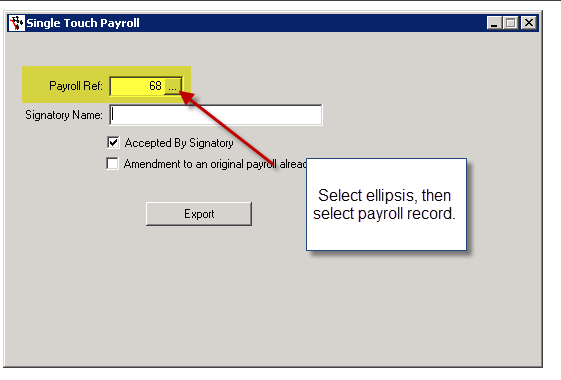
4. Put your name in the box for "Signatory Name"
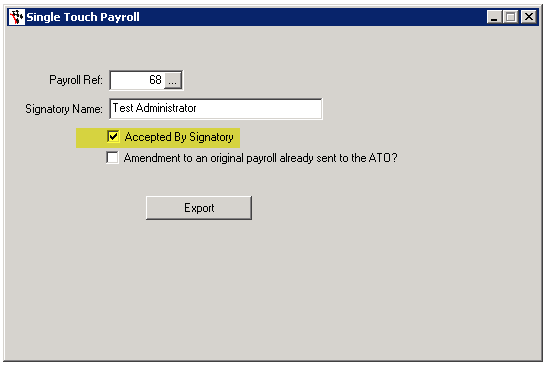
5. Tick "Accepted By Signatory"
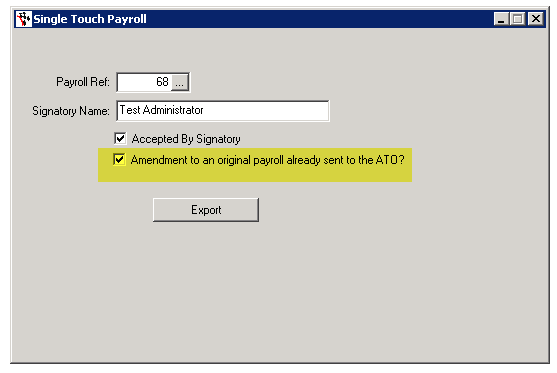
6. If you have reversed a payroll that you have already sent to the ATO, and you need to send the amendment, tick "Amendment to an original payroll already sent to the ATO".
If the original hasn't been sent, or this is not an amendment to a payroll, then leave this UNTICKED.
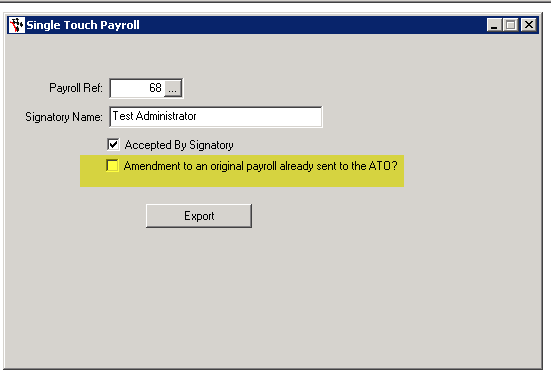
7. Press Export
The Program will now prompt you through the creation, transfer and formation stages. Explanations for what is happening at each prompt is below. IF YOU CLICK NO AT ANY POINT, you will have to start the process above again so, unless you have made a mistake, it is best to click YES on each prompt.
8. Click Yes on each prompt:
a) 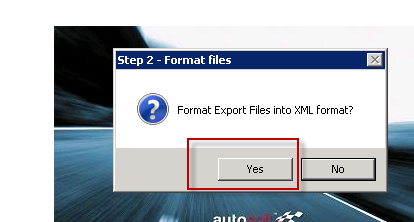
This prompt confirms that the excel file has been created by the system, and it is ready to be turned into the format required by the ATO. This file is a TEXT file and can be found in Autosoft5\Ozedi\transform\input
b)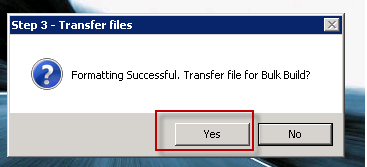
This prompt confirms that the file has been formatted correctly. The files can be found in Autosoft5\Ozedi\transform\output.
c)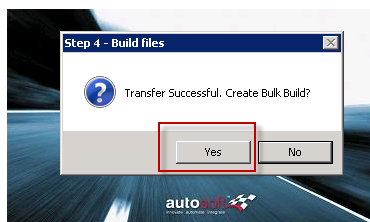
This prompt confirms that the files have been transferred to Autosoft5\Ozedi\concatenation\input and are ready to be formatted into ATO format.
d)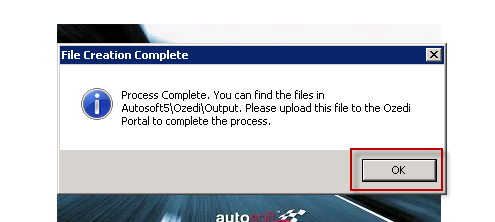
This prompt confirms that the process is complete, and that you can find the file you require in Autosoft5\Ozedi\Concatenation\Output. The file will be called "bulk_{date}_{time}"
9. TRANSFER TO OZEDI
Follow the steps below and if you want more information, refer to the Registration User Guide attached.
What you do next:
- Do this step once only. Create a User and Account at Ozedi by clicking on this link below; then fill out the user details (Important – the username and email address MUST match!), activate your User in the email you will receive (security requirement), and add your Account details when requested.
https://dashboard-stp.ozedi.
(NB: Ensure any pop-up blocking software is disabled, as it may interfere with the webpage loading process)
- Now you are set up with a User and an Account, click on the standard Ozedi Registration link below, sign in with your User Name and password; your account will show here – click on your account and the Account Management screen displays. Use this link from now on.
https://dashboard-stp.ozedi.com.au/#/
- Purchase a block of data using the Buy Data tab – this will take you to PayPal – you can use a PayPal account or a credit card.
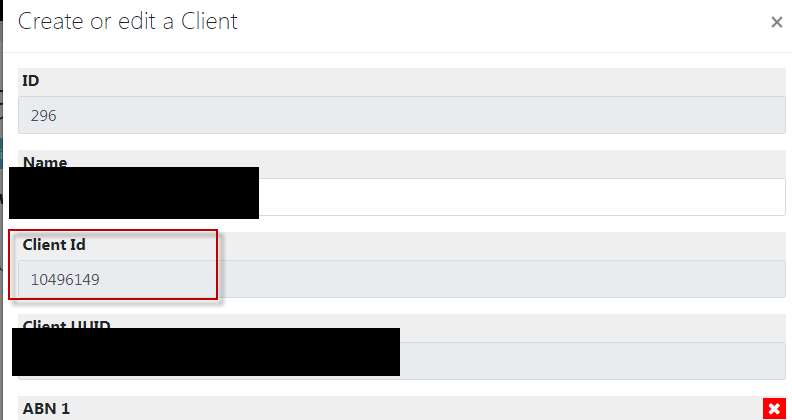
- Add a Client to your account, along with at least one ABN and one Contact that has a valid email address set to ‘Notification’ if you receive ATO responses by email. Make note of the 8-digit client ID as you will need this to upload to Ozedi. See the Client ID on the screen below.
You are ready to upload STP submissions to the ATO using the Ozedi Portal which you can access with this link:
https://dashboard-stp.ozedi.
The Portal Upload User Guide can be downloaded at https://www.ozedi.com.au/assets/pdfs/Ozedi-Portal-Upload-User-Guide-v1.2.pdf for more details on portal entry.
The following details are required on the portal screen when uploading STP data:
User name: api@autosoft.com.au
Password: K2tRs!VyurQ3
Have any problems registering at Ozedi ? Contact Ozedi on:
Email: support@ozedi.com.au
Web: www.ozedi.com.au
NB all queries regarding your STP data and ATO responses must be addressed to support@autosoft.com.au
If you are looking for Workshop Software, click here .


2 Comments