The purpose of this guide is to explain how to use Price groups to set the price of particular parts for customers.
NOTE: To have access to this area - you must be logged in as a 'SETUP-PRO' security access user. Contact you companys manager or Autosoft for more information.
This process has been broken up into 4 parts – Creating the Price Group, Adding the Parts to Price Groups, Setting up the Customer Price Structure and assigning the Customer Price Structure to a Customer
Part 1 - Creating the Price Group
- Go to Parts–Stock - Pricing – Price Groups
- This screen will show you the current Price Groups you have available. You can Add a new Price Group or Edit existing ones by Clicking a Line and Entering Description of your Price Group
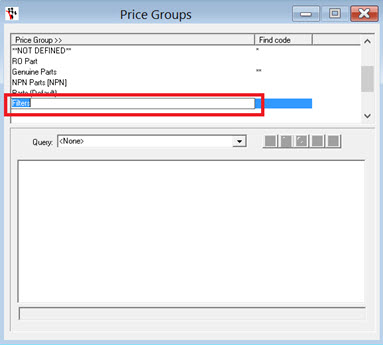
- TAB off the line to Save
Part 2 - Add the Parts to Price Groups
You will then need to put your parts into the new Price Group you have created.
- To edit the Parts individually: Go to Parts – Stock- Search and Select your Part
- Select the Price Group
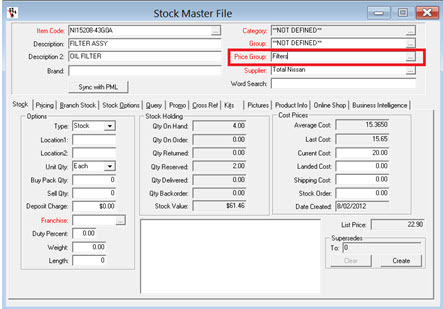
- F2 to Save
OR
- To edit all your parts in a list: Go to Parts – Stock – Stock Maintenance Program
- This screen will show all your parts in a List and you can select the Price Group from here
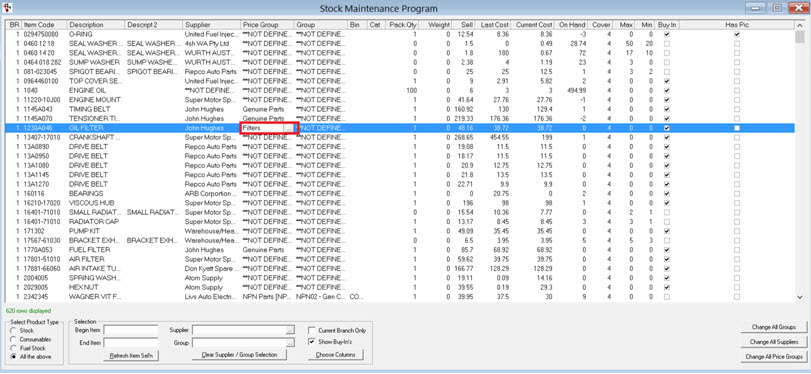
- TAB to save
Part 3 - Setting up the Customer Pricing Structure
This is where you setup how the pricing will work.
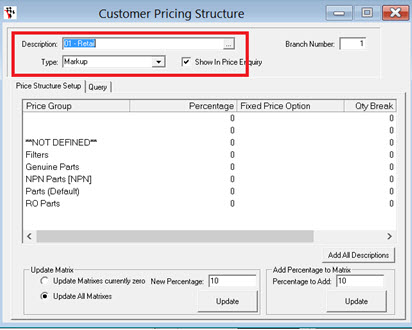
- Go to Parts - Stock - Pricing - Customer Pricing Structure
- If you press F4 in the Description field, it will show you the Existing Customer Pricing structures you have available.
- To Edit an Existing: Select it
- To Create a New one: Type in the Description - F2 to Save it – then F4 to reselect it
- Choose the Type Option
- Discount = Discounted amount from Retail (List Price 1)
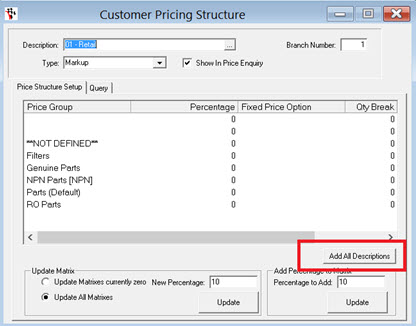
- (Take Note if the Price groups you have set up do not populate you have to select Add all Descriptions)

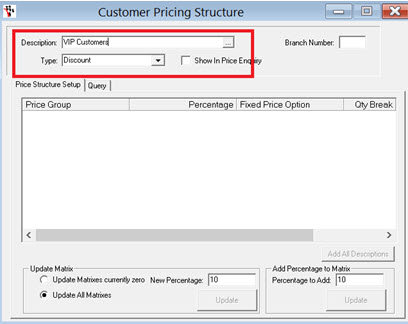
- Markup = Markup from Cost
For Example I want to Edit my Retail Markup Structures for my
- Click Add All Descriptions
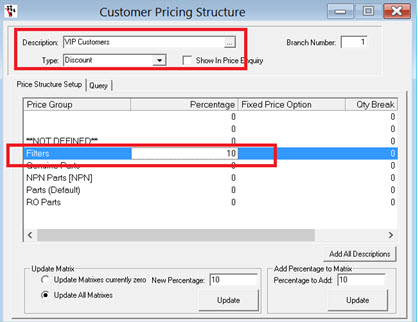
- If the Percentage amount is for a particular Group -Select the Group–Enter the Amount in the Percentage Field
For Example my ‘VIP Customers’ get a 10% discount on Filters
OR
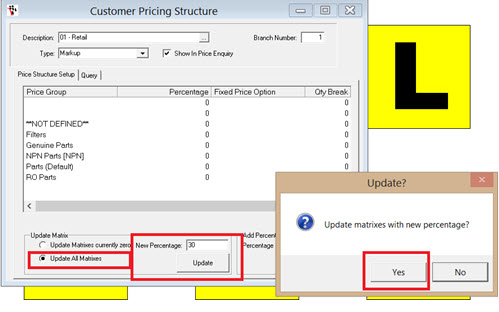
- If this percentage will be the same for ALL groups – Select the Update Matrix Option – Select Update All Matrixes - Enter the New Percentage – Update All
- Select Yes to Update
For example I want all Groups to have 30% Markup from Cost for my Retail Customers
- F2 to Save
- Restart Autosoft to Apply these Changes
Part 4 - Assigning the Customer Pricing Structure to the Debtor Customer
This is where you set this price Structure for the customer
- Go to Debtor – Debtor Master File – Search and Select Debtor
- Options – Price Structure – Select the Price Structure for the Customer
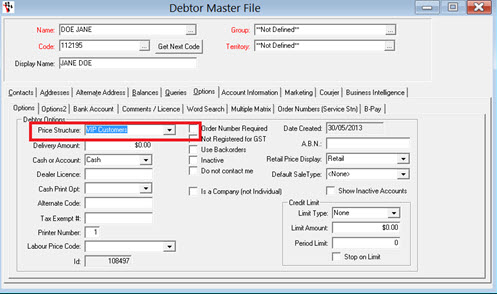
This will now set this customer to get the pricing on parts as per the structure you have applied for any type of invoice.
There is also a guide on deleting/changing price groups available http://service.autosoft.com.au/entries/28486224-How-to-Change-or-Delete-your-Price-Groups

2 Comments