The purpose of this article is a guide you through the process of setting up your DYMO label Writer Printer and printing a product label from Autosoft.
1. Your Dymo printer must be plugged directly into the computer that you will be printing from. This computer cannot be the server, it must be a client PC, that has Autosoft installed on it. If you use Autosoft by logging into the server via Windows Remote Desktop, Autosoft will not be able to see the printer. Dymo does not support printing from 3rd party programs on Windows Server or Windows remote desktop.
2, You need to go to the Dymo website and download the required driver for the printer and install it.
http://www.dymo.com/en-US/dymo-user-guides - correct URL as at the Sep/2016
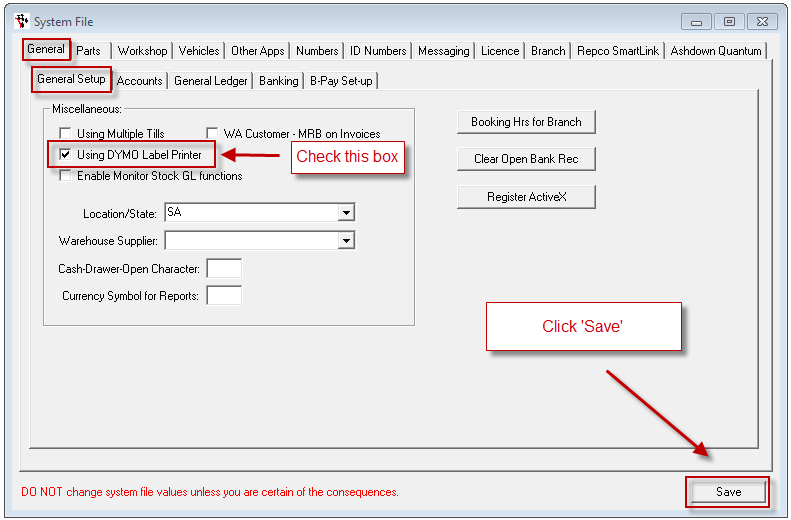
3. 'Utilities' -> 'System Set-up' -> 'System File' -> Follow the screenshot below.
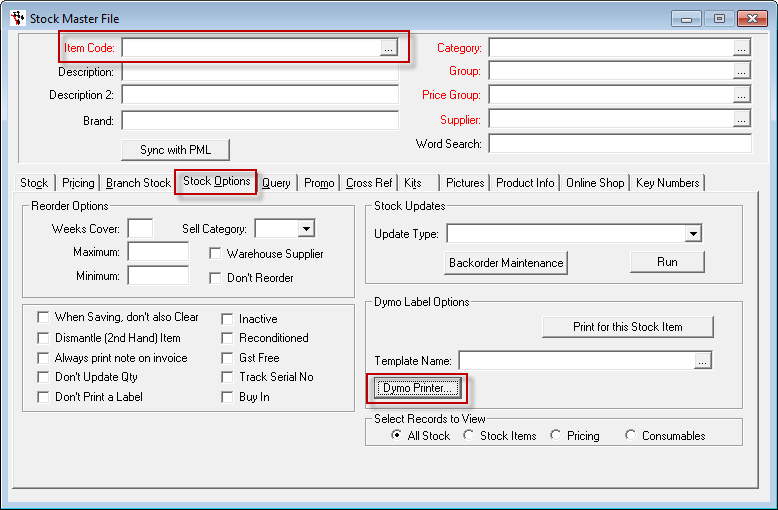
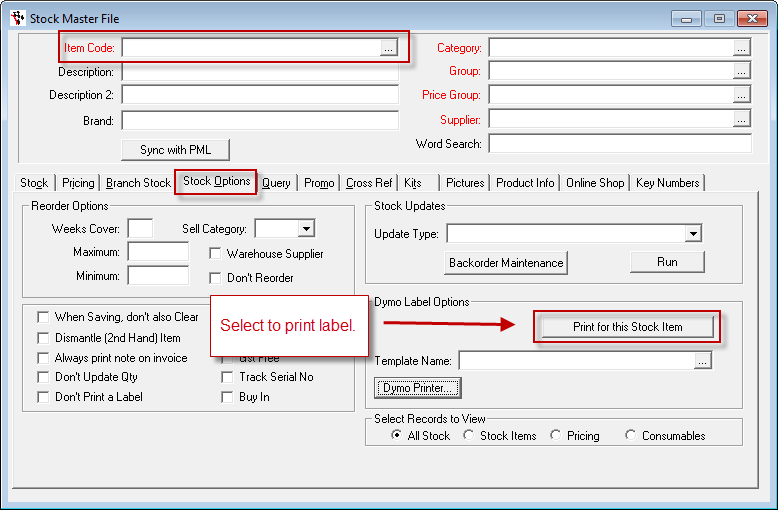
4. Parts -> Stock -> Stick Master File -> Select an item -> Follow screenshot below.
5. Select the Dymo printer. If your Dymo printer is not in the drop-down box, then either the driver is not installed properly or the Printer is not connected directly into the client computer.
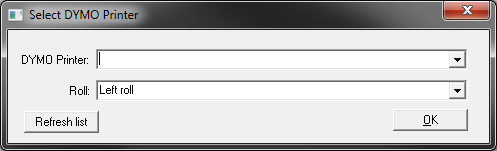
If you have a printer with 2 rolls (A.), select the 'Roll' (side) you want to print from. If you have a single (B.), leave 'Roll' on default.
A. 
B.
6. Print the label for the item selected in step #4.
0 Comments