The purpose of this guide is to show the step by step process of using the RACV Accredited Auto Care Centre software that has been requested by GlobalRed. The software is an extra to the Autosoft software. If you require this software, please contact your Account Manager on 0299796090.
Setting up of Customers
There are 3 things you need to do to allocate customers for this software:
1. Allocate the customers to the same territory. If you need to create a territory you can follow step 2 in this guide: http://service.autosoft.com.au/entries/22702519-How-to-Create-and-Report-on-Customer-Account-Groups-OR-Territories
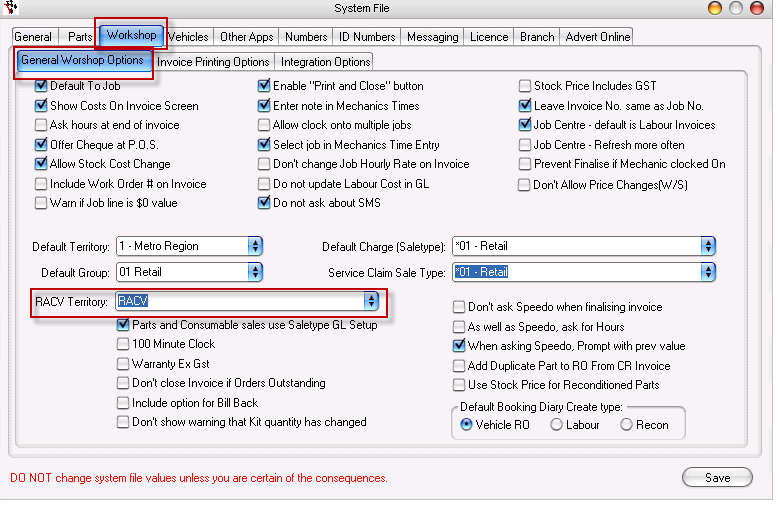
2. Allocate this territory in the system file. You can find the system file in Utilities - System Set-up - System file. Please look at the image below to show you where to allocate this territory.
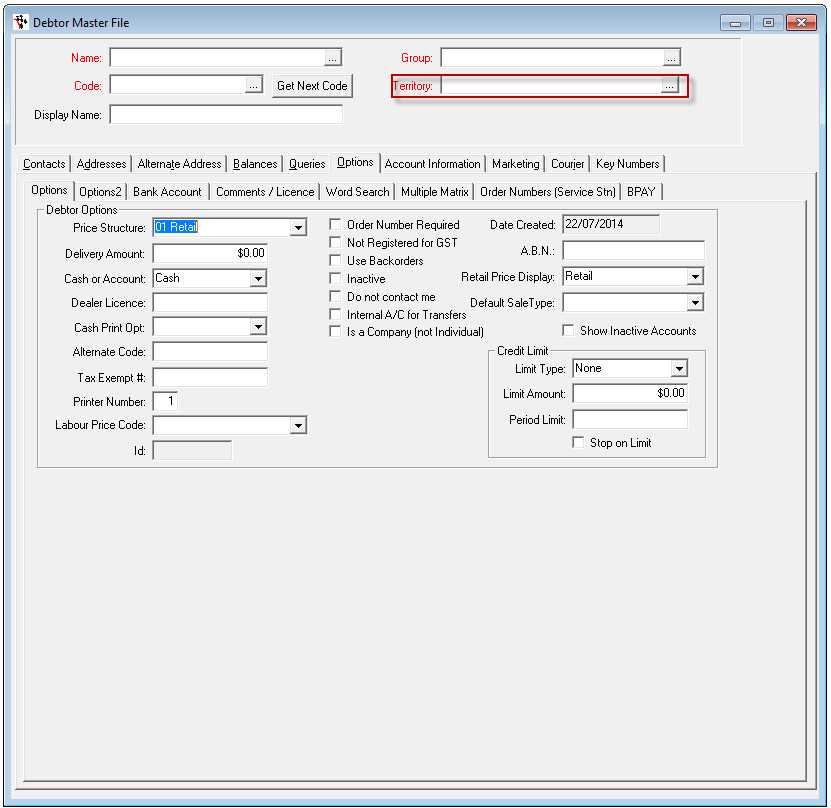
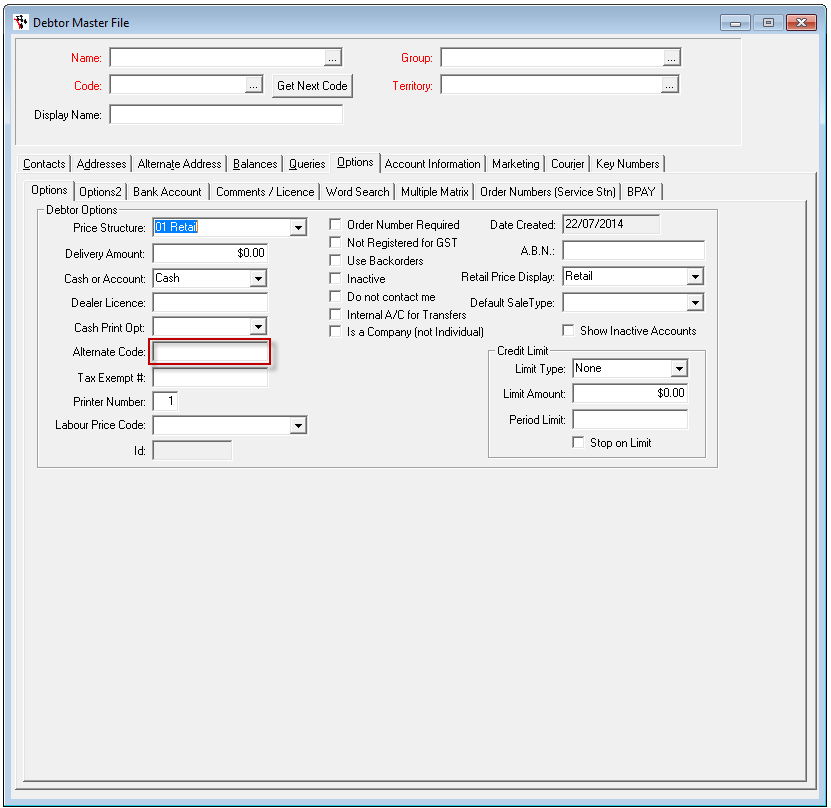
3. Add the customer's barcode/member ID to their account. You add this into the Alternate code box of the debtor master file below.
Setup of the software
On the first use of the software, you will need to add the following details to the RACV software. Please note: once you have generated the file once, these details will remain in the boxes provided, so you won't need to do this again.
1. Enter the Member ID

2. Enter the destination of the file
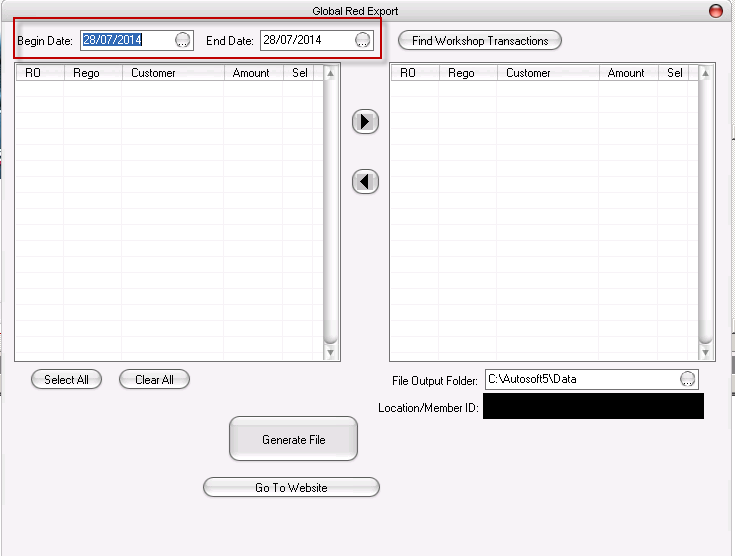
Using the software
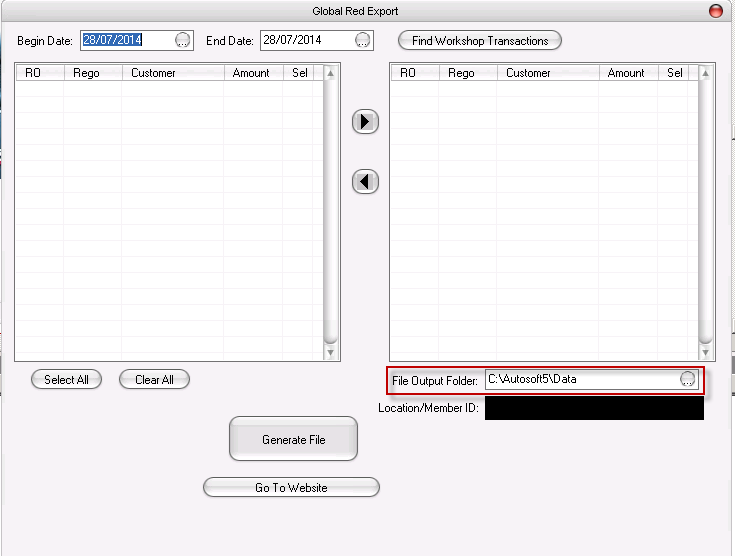
1. Enter the start date and end date of when you want to collect transactions for
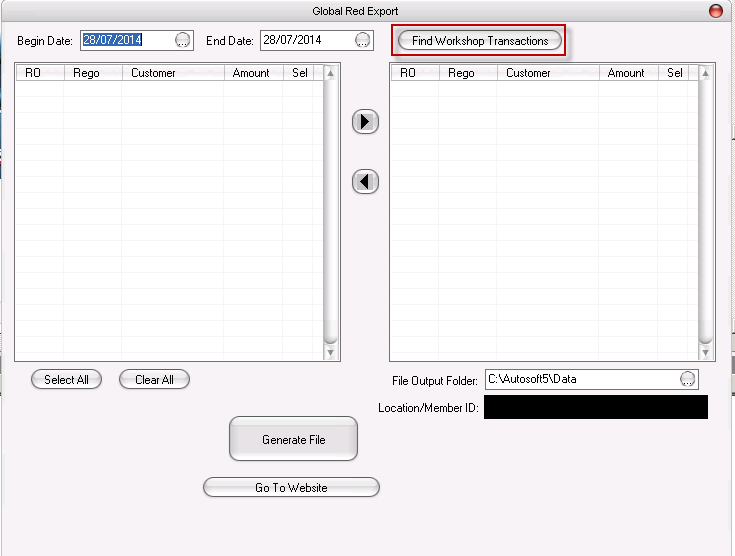
2. Click the "Find Workshop Transactions" button
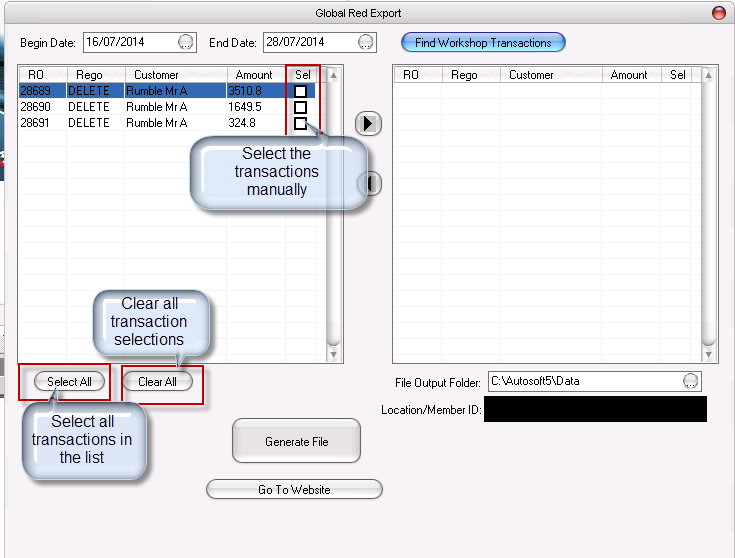
3. Tick off the transactions on the left hand side that you want to transfer onto the report. If you use select all, it will move all transactions automatically to the right
4. Press the arrow pointing to the right. If you used select all in step 3, move to step 5
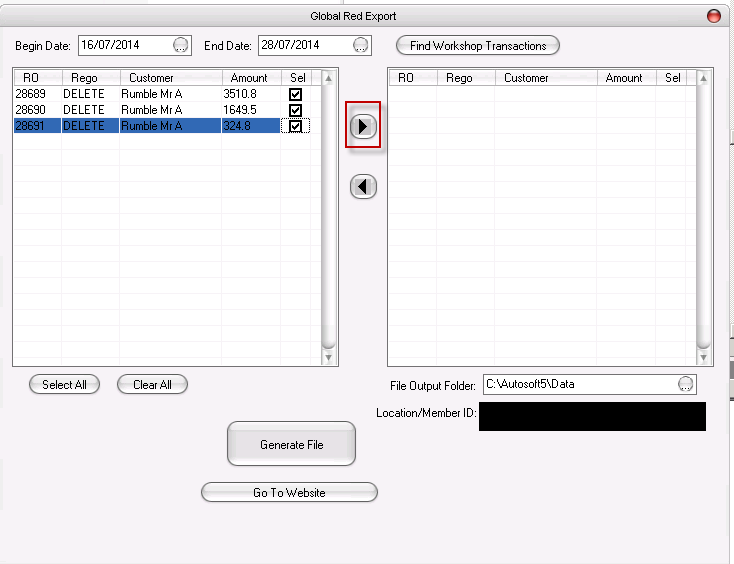
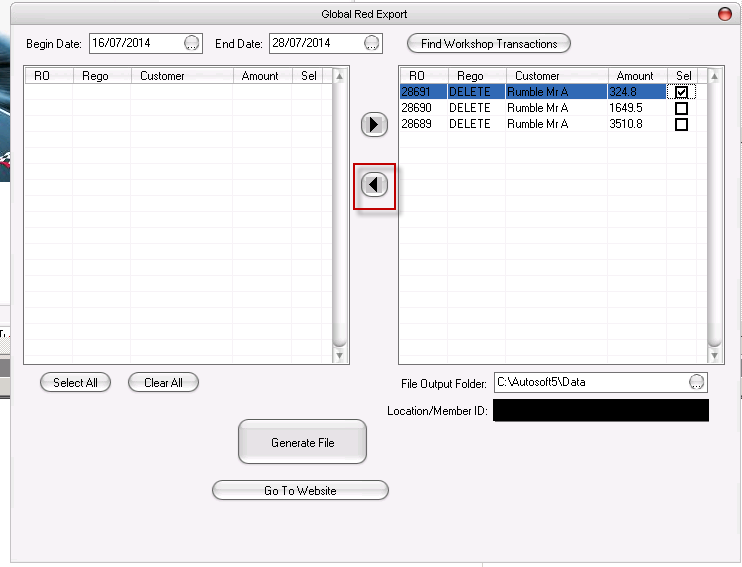
5. Review these transactions. If you don't want one of them, tick the box on the right and press the arrow pointing to the left to remove from the list. Clear all will move all transactions to the left
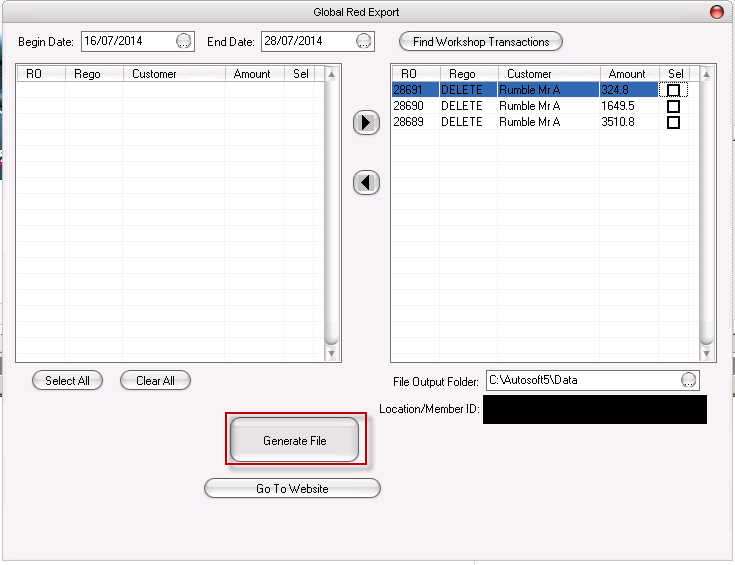
6. Press "Generate File".
7. Press "Go to Website" to open the GlobalRed webpage
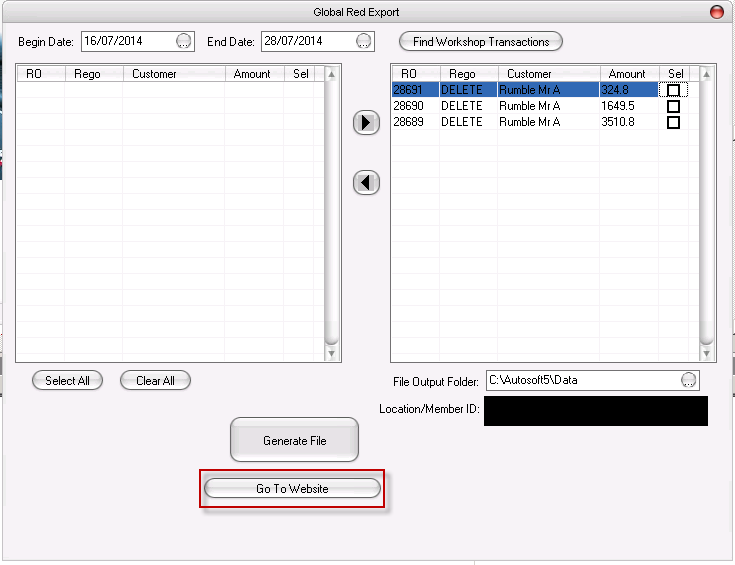
This will bring up the transfer page. Transfer the CSV file from the address setup in the software above into the "IN" folder on this webpage.
Using the Website:
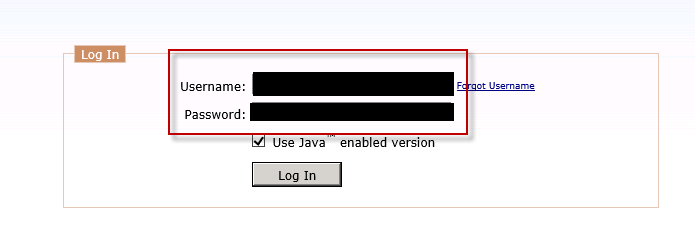
1. Log into the GlobalRed website (http:\\secure.globalred.com.au\) using the username and password you were provided by RACV.
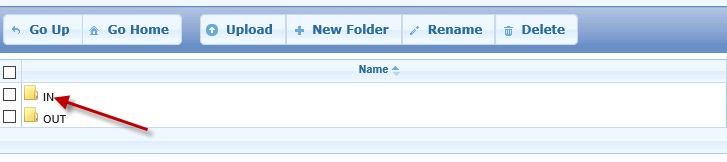
2. Click on the IN folder
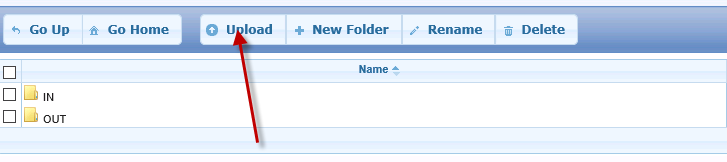
3. Click on "Upload"
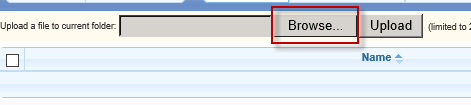
4. Click on Browse, and select the file that was created in the above steps. The address of the file will be the same one you put in STEP 2, in the SOFTWARE SETUP section.
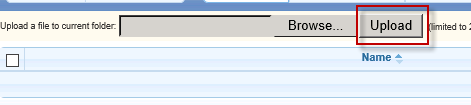
5. Click "Upload"
0 Comments