The purpose of this guide is to show you how to supersede one Part with another. This would be used in the instance where a Supplier has replaced a Part with another Part.
This is a 2 Part Process - First create the New Part then Supersede the Old Part.
Part 1 – Create the New Part
Enter the New Part in the System as applicable http://service.autosoft.com.au/entries/21565794-How-To-Add-Stock-Quickly-Into-Your-Autosoft-System-
Part 2 – Supersede the Old Part
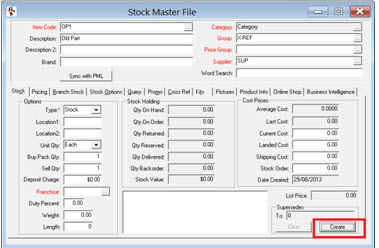
- Go to Parts – Stock – Stock Master File
- Search and Select the part which has been superseded (and is no longer available)
- Under Supersedes- select Create
- Search and Select the Part which is Superseding it (the new part which is replacing the old one)
- Select OK
- F2 to Save
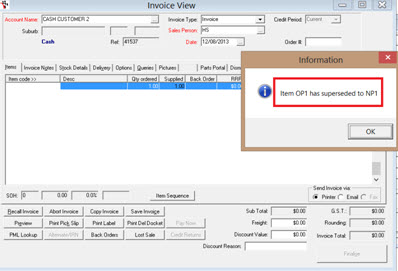
This will then give you a message when you try to select the old part during invoicing. For example my OP1 has been superseded by NP1

If I select OP1 on an invoice I get the following message;
0 Comments