The purpose of this guide is to show you how to create a Workshop vehicle invoice in Autosoft using your Repco navigator pro.
Take Note: This is an additional feature which you will have to purchase to access. For any Questions please contactSales@autosoft.com.au or call 1800 825 236.
Please make sure you have set up the Repco integration in the system file.
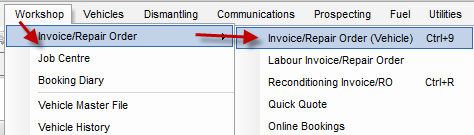
1. Go to Workshop> Invoice RO> Invoice RO (vehicle)
2. Search for Existing client by clicking F4 or add a new customer
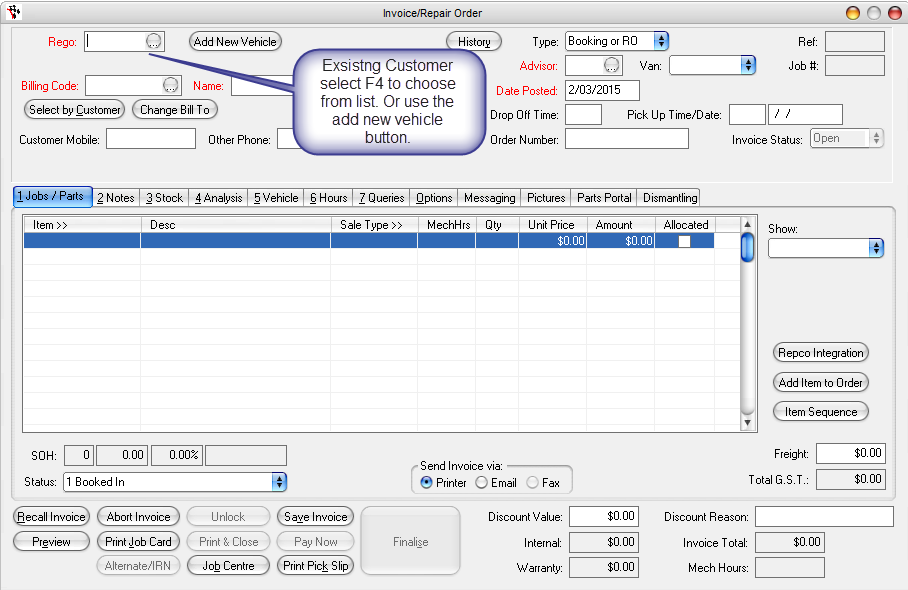
Tab Through invoice adding Advisor and date.
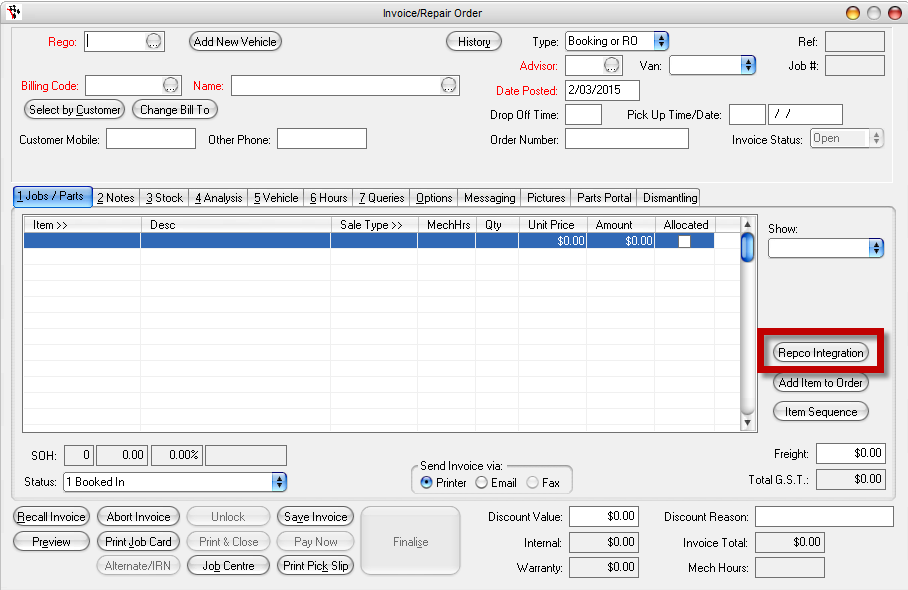
3. Select the Repco Integration button:
4.Your navigator pro will populate:

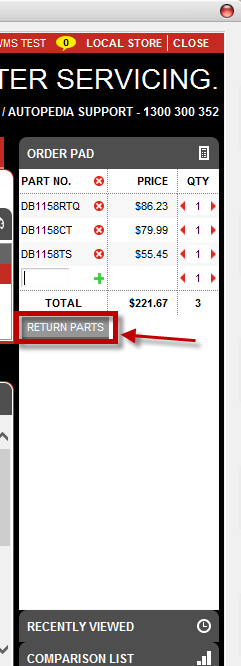
5. Use navigator pro to select parts you wish to add to this invoice.
Once the parts have been selected click Return parts
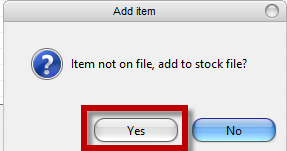
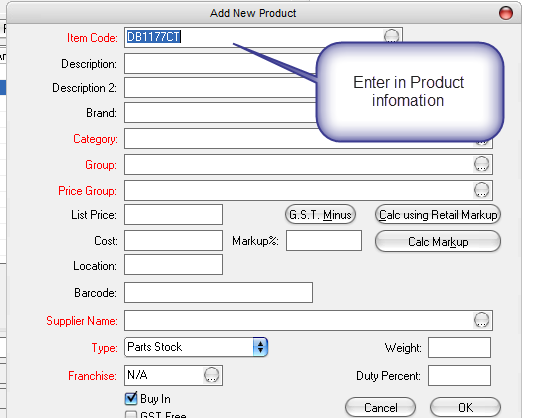
6. You will have to add the part into your stock file using the stock Quick entry
7. Process the invoice

1 Comments