The purpose of this article is to show how the Service Van Module works.
1. Create your Service Vans
- Go to Workshop - Service Vans – Van Names
The following screen will come up when you go to this menu:
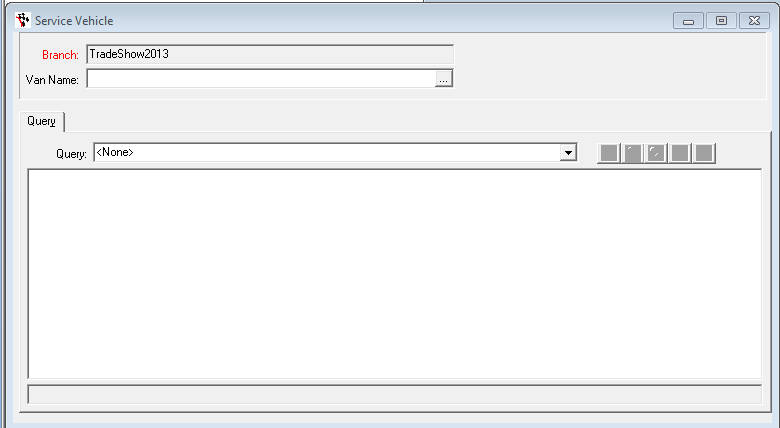
- Type in a name for your Service Van and press F2 to save
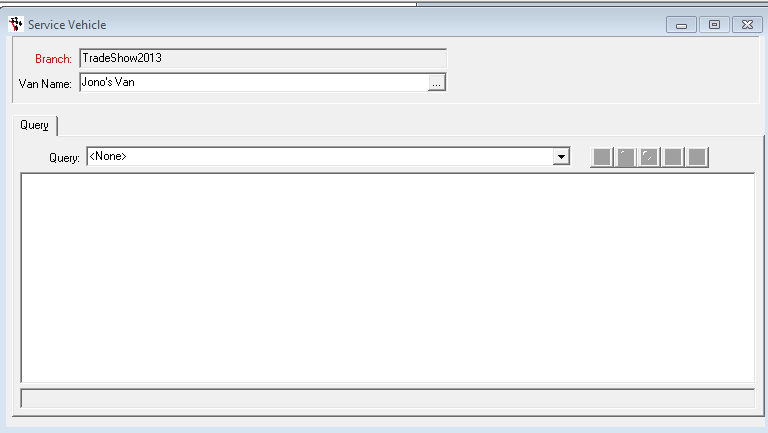
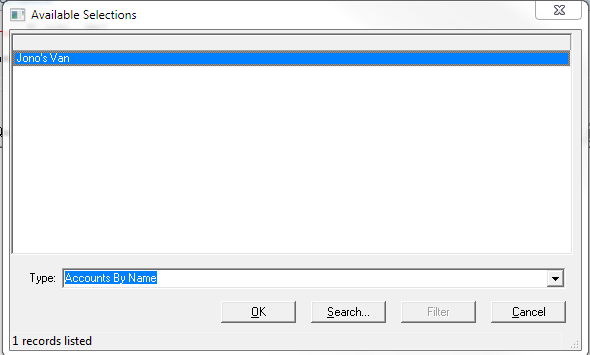
Once you have saved, and click the ellipsis again, you will see that there is now a van in the list, as per the screenshot below:
- Restart the Autosoft software to update the Workshop Invoice, and Stock Transfer screens
2. Transferring Stock to the Van
- Go To Workshop – Service Vans – Van Stock Transfer
- Choose “Branch/Van From” - this is your Branch Store or your Other Van when you have stock in one van and wish to move it to another.
- Choose the Van in “Branch/Van To” - the Van which will be holding the stock.
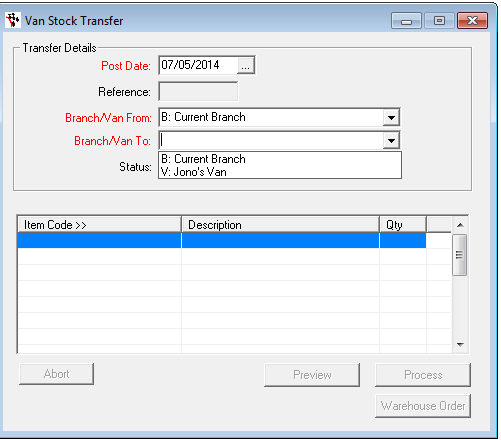
- Choose each item code that is going into the van, and the quantity that will be going in
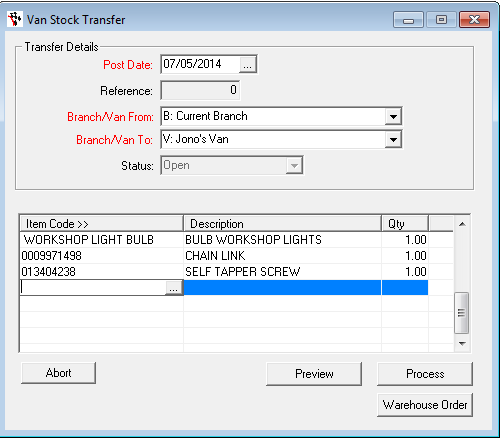
- Once complete, press Process.
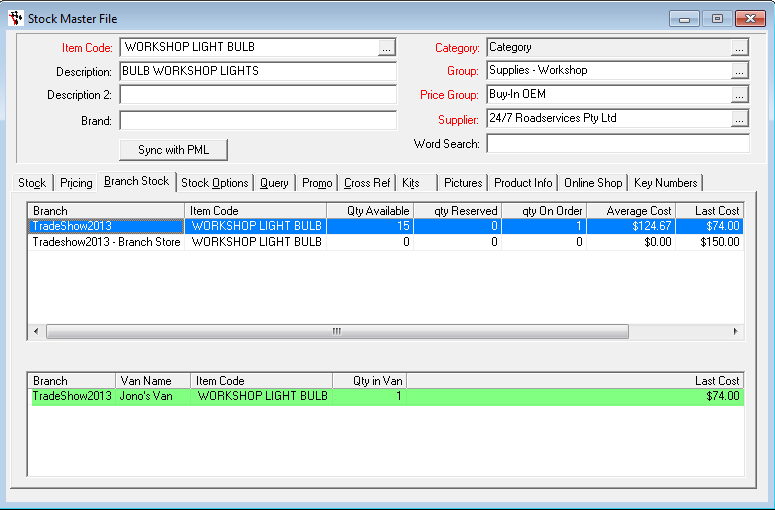
Please Note: This will move the stock to the van but doesn't update the Stock levels, so the stock levels will remain the same, as seen below in this screenshot of the Stock Master File – Branch Stock screen:
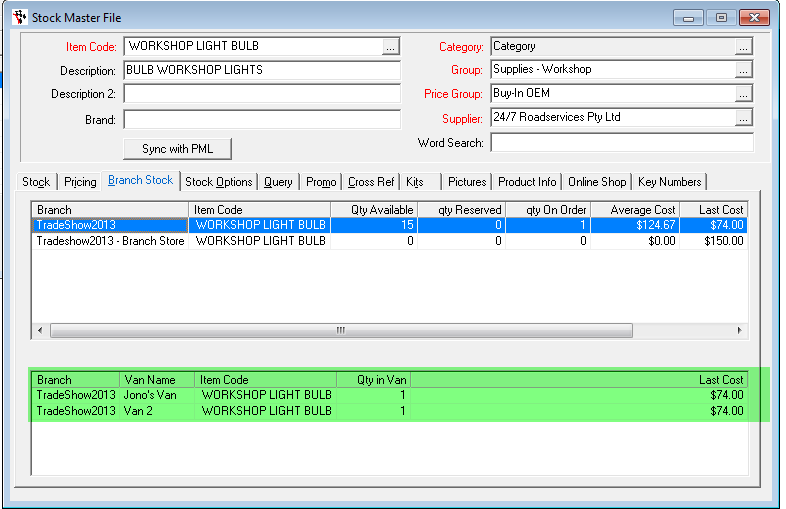
What happens if you have several Vans?
With a 2nd van, it adds a new line to the stock Master file, in the Vans section, as seen below:
3. Booking/Invoicing Parts and Work done by the Service Van to a Customer
- Go to Workshop – Invoice/Repair Order - Create Booking/RO or Invoice for Customer as normal. See this guide for more info http://service.autosoft.com.au/entries/21480569-How-to-do-a-Workshop-Invoice-Repair-Order-Vehicle-
- Choose the Van
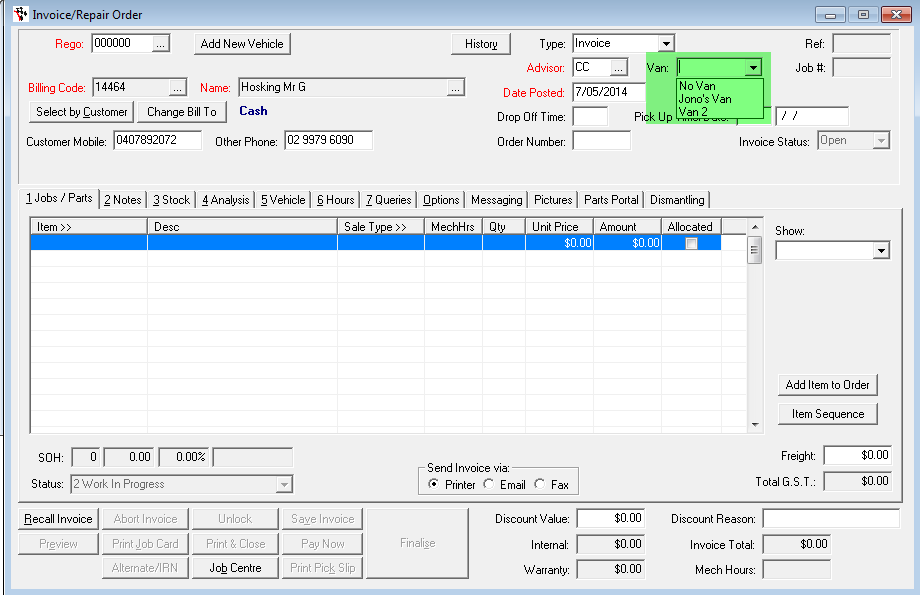
- Use Workshop Booking/RO as normal
3 Comments