The purpose of this document is to learn how to do an Invoice Repair Order correctly in your Autosoft system.
This guide has been broken up into 8 Steps you can follow as applicable.
1. Find the Booking/RO Job you need to finish or Start Creating the Invoice/RO from Scratch
- Go to Workshop - Job Centre OR Recall Invoice, find and select the job you want t finish
![]()
OR
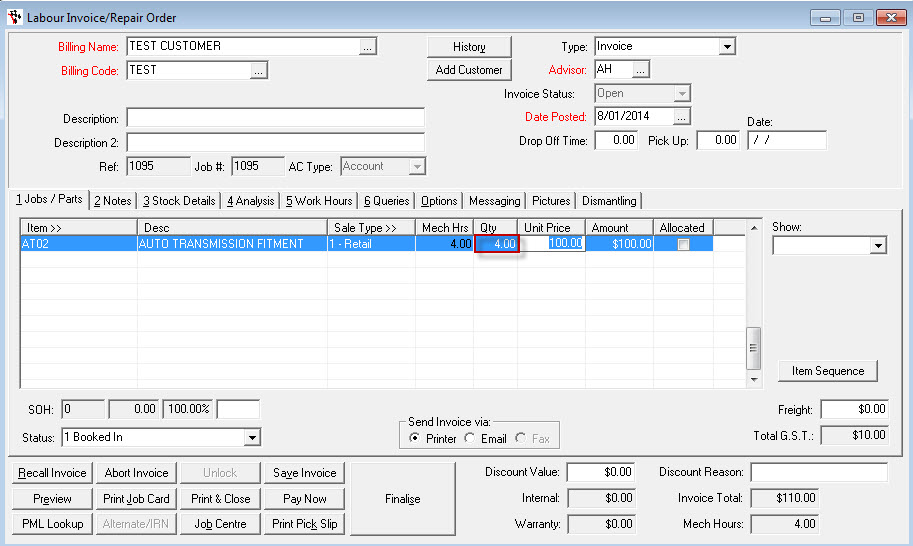
- Go to Workshop- Invoice /Repair Order – Labour Invoice/Repair Order
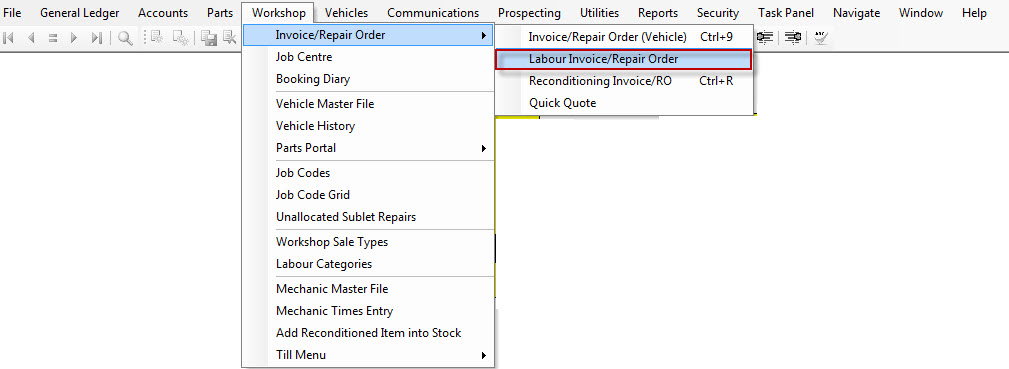
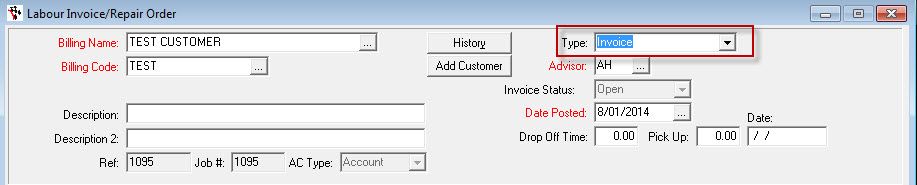
- Select the Existing Rego or Add New Vehicle and enter the Customer and Rego Details.
- Change the Type to Invoice
2. Add Parts &/OR Add Labour and Record the Work Hours
a) Add Parts
- Go to Item field and type the part number OR F4 to search for it
- Select Parts from the Type
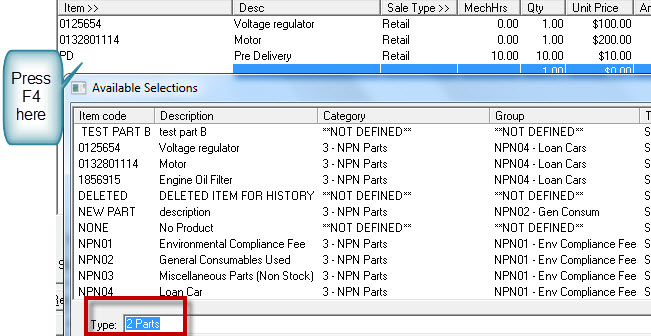
- Find the part you want to use
- Click OK or Enter on your keyboard
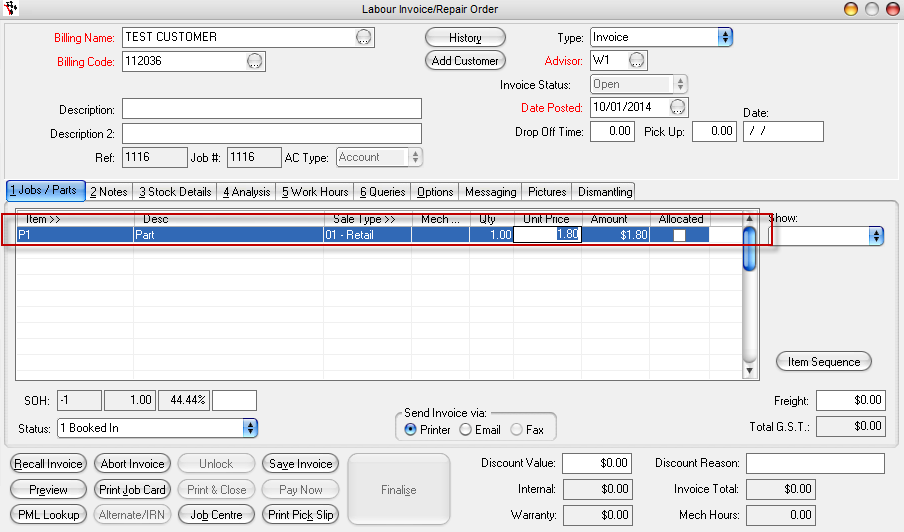
- Tab through and enter the Qty and price
b) Add Labour
- Go to Item field and F4 to search
- Select labour from the Type
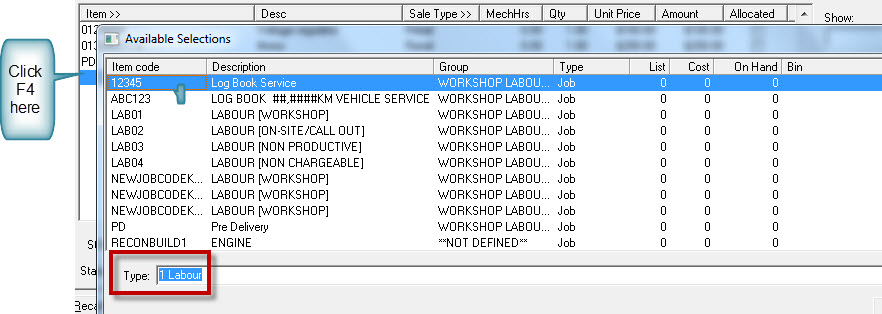
- Find the labour line you want to use
- Click OK or Enter on your keyboard
- Tab through to add the Qty (charge hrs) and price
c) Record Staff/Mechanic hours on labour
- Highlight the Labour Line in the Jobs/Parts tab
- Go to 5 Work Hours tab
- Check the Mechanic Clock On/Clock off times OR Enter them manually
If you want to use the Clock On/Clock off feature - see this guide http://service.autosoft.com.au/entries/22162440-How-to-Clock-On-and-Off-Jobs-In-Mechanic-Times-Entry
3. Enter your Notes or Story on the Labour or Parts
- Highlight the Labour line
- Go to Notes tab
- Type in your story either in
- Invoice Item Notes field -these notes will appear underneath the labour line
- Invoice Notes/Future Worked Required -notes will appear at the bottom of the invoice

4. Print & Close OR Finalise the Invoice
- Account Customer -click on Finalise
- Cash Customer- use the Print and Close Theory see the link to see how this is done http://service.autosoft.com.au/entries/21434385-How-to-use-the-print-and-close-theory-in-Autosoft

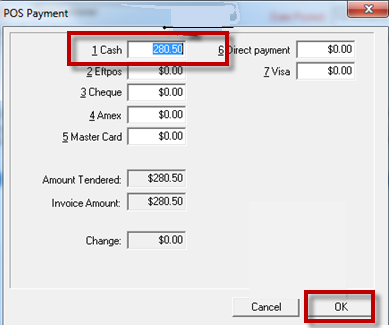
- Click on Finalise and once the customer is happy to pay
- POS will appear in front of you.
- Enter in how they paid and click OK ( here is a link to our short cut keys http://service.autosoft.com.au/entries/21416984-How-to-Use-POS-Short-Cut-Keys-to-Process-a-Payment-Quickly-and-Easily )


11 Comments