The purpose of this document is to learn how you need to process your credit card payment correctly and make sure that it appears in both the bank reconciliations.
Note: You need make sure you have a bank account set up and created for your credit card. You can set this up easily by looking at the following article http://service.autosoft.com.au/entries/21438479-How-to-Create-More-Bank-Accounts-in-Autosoft
This is a 2 part process which includes doing a non creditor payment and copying previous transactions on your next credit card payment.
1. Do a Non Creditor Payment
- Go to Accounts - Creditors - Non Creditor Payments
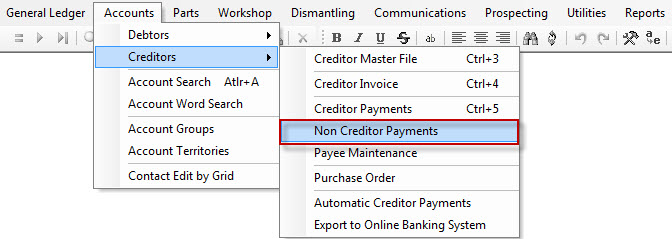
- Enter your Payee - this would be the name of your credit card – example Amex Credit Card
- Select your Bank Name - this is going to be the bank account that you used to pay for the credit card payment
- Cheque/EFT Number - don’t need to worry about as such as the system will generate a number for you. ( You can change it though if you need)
- Date Posted - when did you make payment for the credit card
- Amount - how much did you pay

- Tab through Account filed
- F4 to make your Charts of Accounts appear
- Pick the Credit Card Bank Account here
- Enter in a Remark and Amount
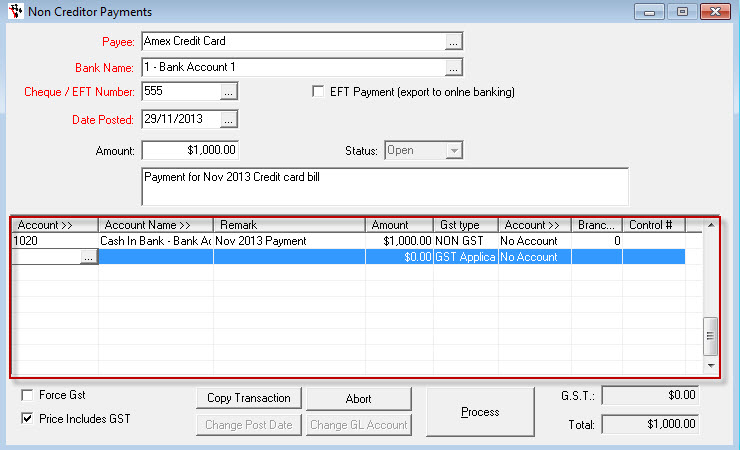
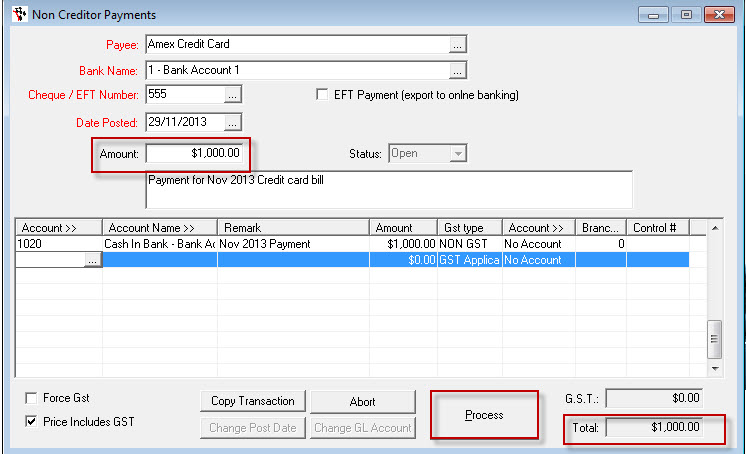
- Once it matches you can click on Process
What this will do is put the figures in to the bank reconciliations in the following manner. Your normal bank account will have the amount showing as a Debit. Your credit card bank account will than have the amount showing as a Credit
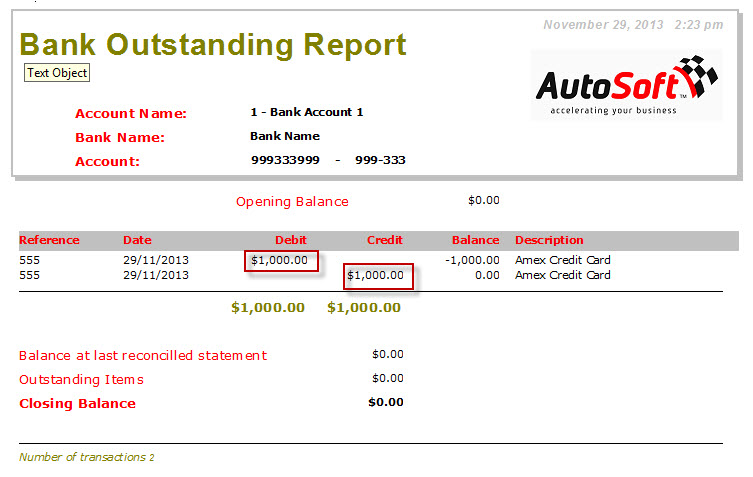
This will reconcile the bank statements for each of the bank accounts at the end of each month
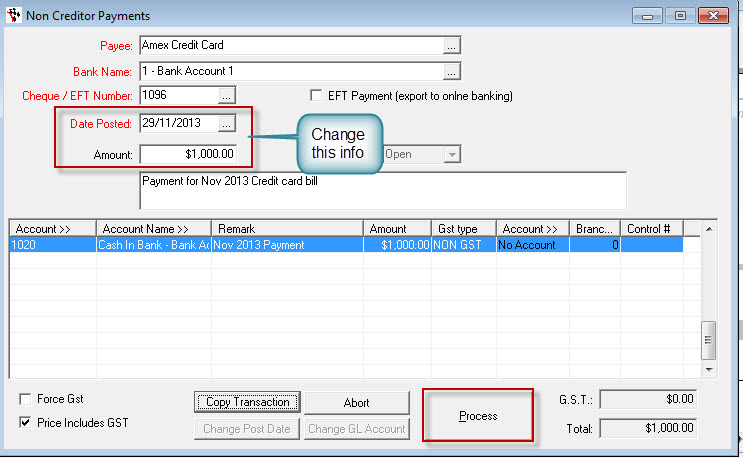
2. Bring up the previous payment on your next credit card payment
- Click Copy Transaction
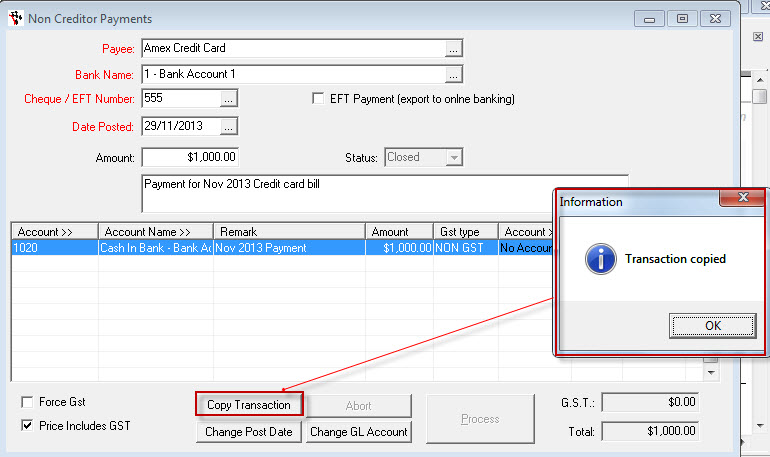
- Change the Date Posted and Amount
- Click Process


3 Comments