The purpose of this document is to show how you can utilize the prospecting system in your Autosoft System.
NOTE: this is an additional Module available for purchase in Autosoft so may or may not be available in your current version you are running. Please contact us for further details.
This is a 2 Part process which includes Entering Prospect Information and Running Reports. The prospecting system is great to keep a track of your leads and then turning them into debtors. Please see below the process on how Prospecting works in Autosoft.
1. Entering Prospect Information
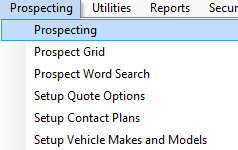
- Go to Prospecting – Prospecting
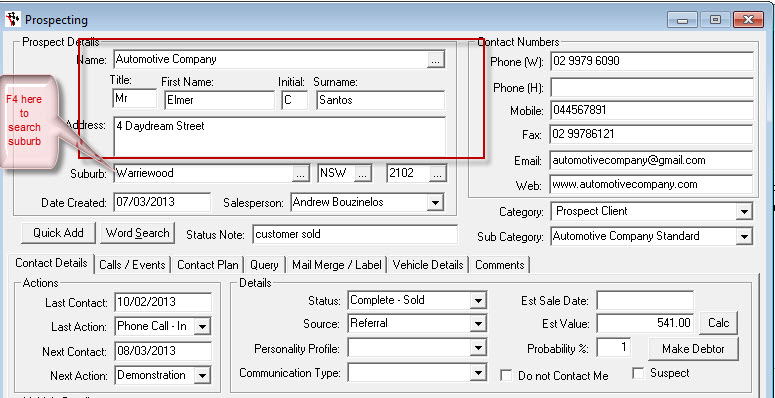
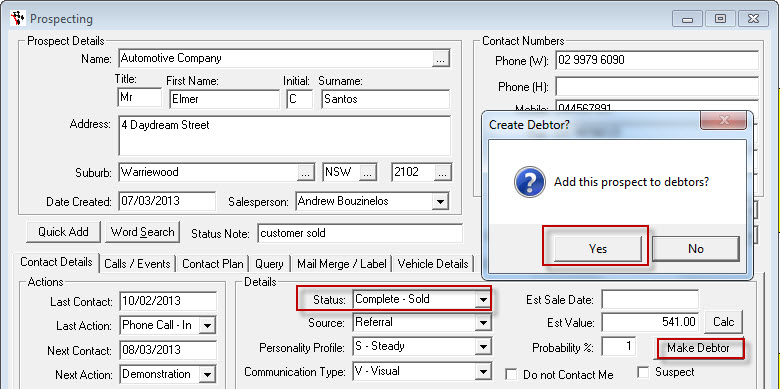
- If you are entering a new lead you simply need to enter in the Name, Title, First Name, Initial, Surname, Address, Suburb (you can F4 to search and list of post codes and suburb will appear, type in the suburb you are looking for and the system will find the nearest one for you. Once you are done simple click ok and will populate into the fields), now add in your Salesperson
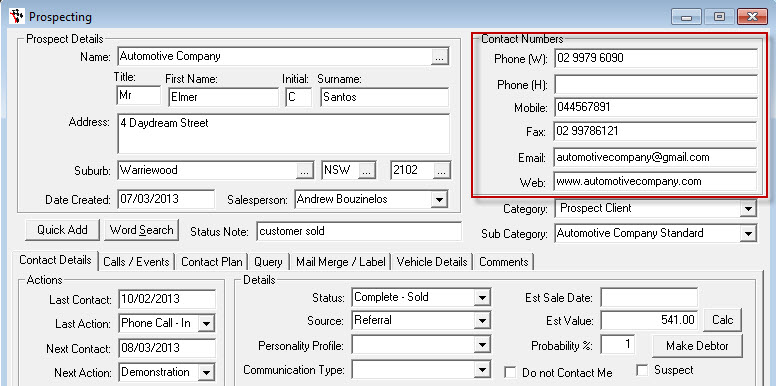
- In the Contact Numbers – add in the Phone numbers and the Fax, Email, Mobile, and Web
- You now need to select the Category it belongs to, add your Sub Category if you want

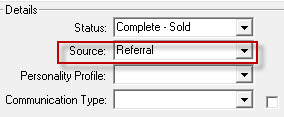
- Now you must put in a Source otherwise the system will not let you save your new lead
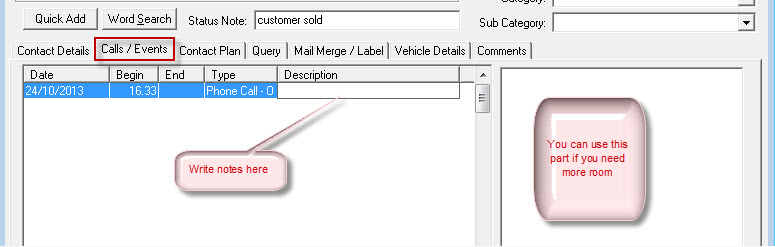
- If you have Calls and Events you want to record you can simply go to the Calls/Events tab, once you click into the field a message will pop up in front of you Select Date and you click OK
- Now you can add a Description, and on the right hand side there is more room for you to add more comments about the conversation
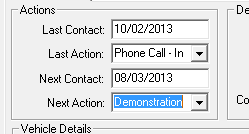
- In the Contact Details tab you can add information like, Last Contact, Last Action, Next Contact, Next Action
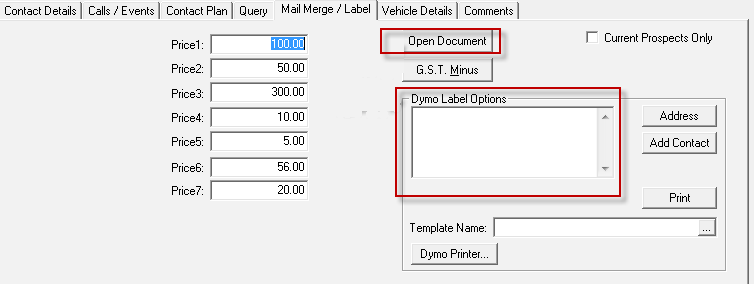
- In the Mail Merge/Label tab you can add in your pricing and you can either create document by clicking on Open Document or do a Dymo Label
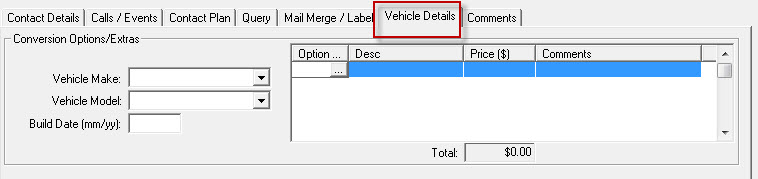
- The Vehicles Details tab you can add in additional things like Vehicle Make, Vehicle Model and Build Date
- Save changes

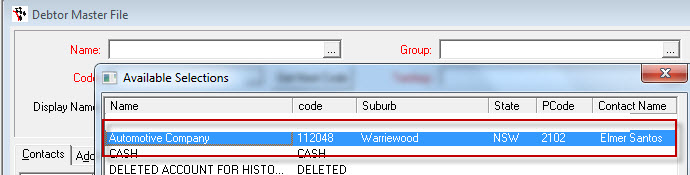
- Once the lead is ready to turn into a debtor you need to bring them back up by going to the Name field and F4 to search, you can than change the Status to Complete Sold and then you can click on Make Debtor button. Once you click on Make Debtor you will see the lead in your debtor master file as a customer
2. Reports that you can run
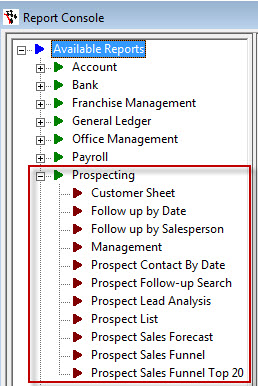
- Go to Reports – Report Console and Prospecting
- Here are some of the report you can run:
- Customer Sheet
- Follow Up By Date
- Follow up by Salesperson
- Management
- Prospect Follow –up Search
- Prospect List
- Prospect Sales Forecast
- Prospect Sales Funnel
0 Comments